
Wing trimming, when performed correctly and responsibly, is a common safety measure for pet birds. The goal is not to prevent flight altogether, but to limit upward altitude, preventing birds from escaping outdoors, flying into ceiling fans, or crashing into windows. If you choose to trim your bird’s wings, safety and knowledge are paramount.
Step 1: Preparation and Timing
Never rush the process. If you are unsure or uncomfortable, defer to an avian veterinarian or a certified groomer.
– Gather Supplies: You need small, sharp, rounded-tip grooming scissors, a soft towel for restraint, and styptic powder or cornstarch to stop bleeding from a cut blood feather.
– Recruit Help: A second person to help hold the bird is highly recommended.
– Choose the Right Time: Trim when your bird is calm.
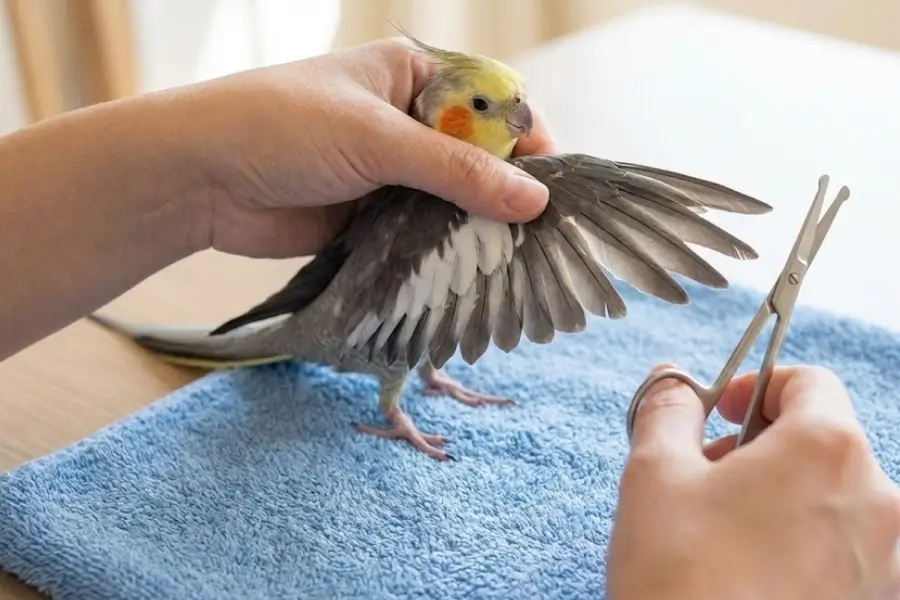
Step 2: Safe Restraint
Safe restraint is the most critical step, as you must avoid compressing the bird’s chest, which prevents them from breathing.
– Towel Method: Gently wrap the bird’s body in a soft towel, leaving the head exposed. The towel protects you and keeps the bird calm.
– Football Hold: Ensure your hand gently secures the neck and head while the body rests in your palm. Do NOT grip the chest tightly.
– Extend the Wing: Have your helper gently extend one wing for trimming.
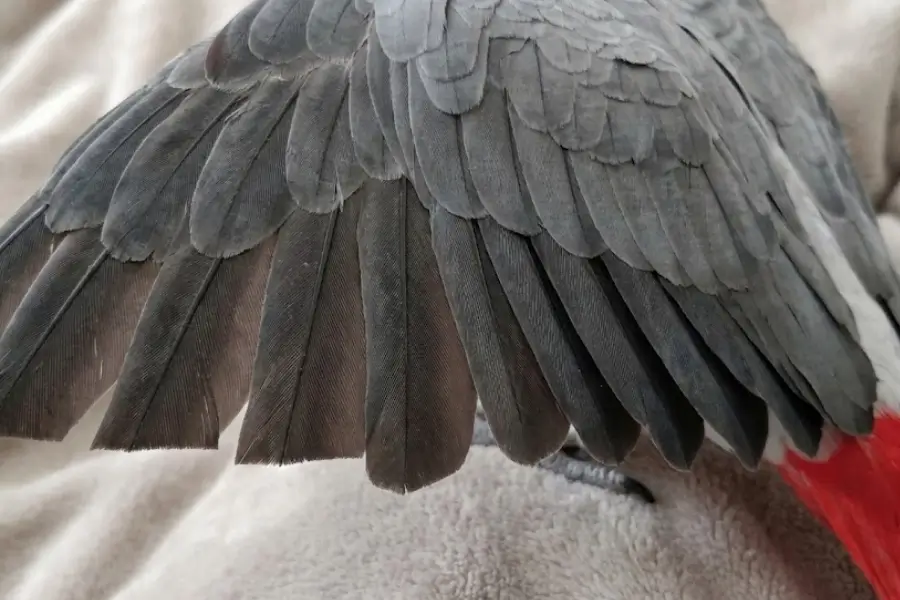
Step 3: Identifying the Feathers to Trim
A proper wing trim involves only the primary flight feathers (the long, outer feathers).
– Crucial Safety Rule: You must identify and never cut a blood feather. A blood feather is a new, growing feather with a blood supply, appearing dark and opaque. Cutting it will cause severe bleeding.
– Trimming Guideline: Typically, the first 5 to 7 primary flight feathers are trimmed.
Step 4: The Trimming Process
Always cut the same number of feathers on both wings to ensure the bird’s flight is balanced.
– Cut Position: Cut each primary feather just below the level of the “covert” feathers (the shorter feathers that overlap the primaries). This leaves a neat appearance and protects the cut ends.
– Balance is Key: Avoid the “one-wing trim” method. Trimming only one wing causes the bird to spiral out of control when flying, which can lead to severe injury.
Step 5: Post-Trim Care and Testing
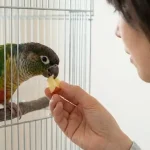
After the trim, offer a treat and let your bird preen.
– Test the Trim Safely: In a carpeted area with no obstacles, gently encourage your bird to fly. A properly trimmed bird should be able to glide gently down to the floor, not drop suddenly. If they gain altitude, you may trim one more feather on each side.
Conclusion
Wing trimming is a procedure that carries risks, particularly concerning blood feathers. If you are not confident in your ability to identify blood feathers and restrain your bird safely, always seek the expertise of an avian veterinarian or professional bird groomer.


0 Comments